How to add a Newsletter signup box in a Blogger blog
Social media and search engines control who sees your content, but email is a channel you fully own. A Newsletter signup box helps turn passing readers into followers you can send new posts to directly. This article teaches you how to add one to a Blogger theme with BlogKub, along with connecting an email service and approaches that work.
Quick summary: add the Newsletter block in BlogKub, set the heading, subtext, button text, and background (soft/gradient/dark), then Export the XML and upload it to Blogger. You get a ready-to-use, good-looking signup box. Then connect the form to an external email service (such as FollowIt, Mailchimp, Google Form), because Blogger has no built-in email storage, and you can send new posts straight to followers.
Why a Newsletter matters for a blog
A Newsletter is where readers give their email to receive new posts or news from you through their inbox. The core value is in the phrase "owning the channel". When people follow you on social media, whether they see your posts depends on an algorithm you do not control, just like search traffic that rises and falls with rankings. But an email list is yours. When you have a new post, you can send it straight to everyone on the list.
This is why professional creators and bloggers put great importance on building an email list, because it is a long-term asset that does not disappear even when other platforms change the rules. Email followers also tend to be engaged and returning readers, because they deliberately signed up to receive your content specifically.
Something to understand: Blogger does not store emails itself
The key thing to understand first is that Blogger is a purely reader-side site with no backend for storing emails. So BlogKub's Newsletter box serves as a "ready-to-use, good-looking form", while the actual receiving, storing, and sending of emails relies on an external email service you connect.
This is not a strange limitation but the standard way of the web at large. Specialized email services do this far better, including managing lists, sending bulk emails without landing in the spam folder, handling unsubscribes, and complying with privacy law. BlogKub's job is to provide a beautiful form that fits the theme, and leave the rest to a specialized service.
How to add the Newsletter box step by step
- Add the Newsletter block. Open the left block library and drag the "Newsletter" block into the position you want, such as at the end of an article, the homepage, or before the footer.
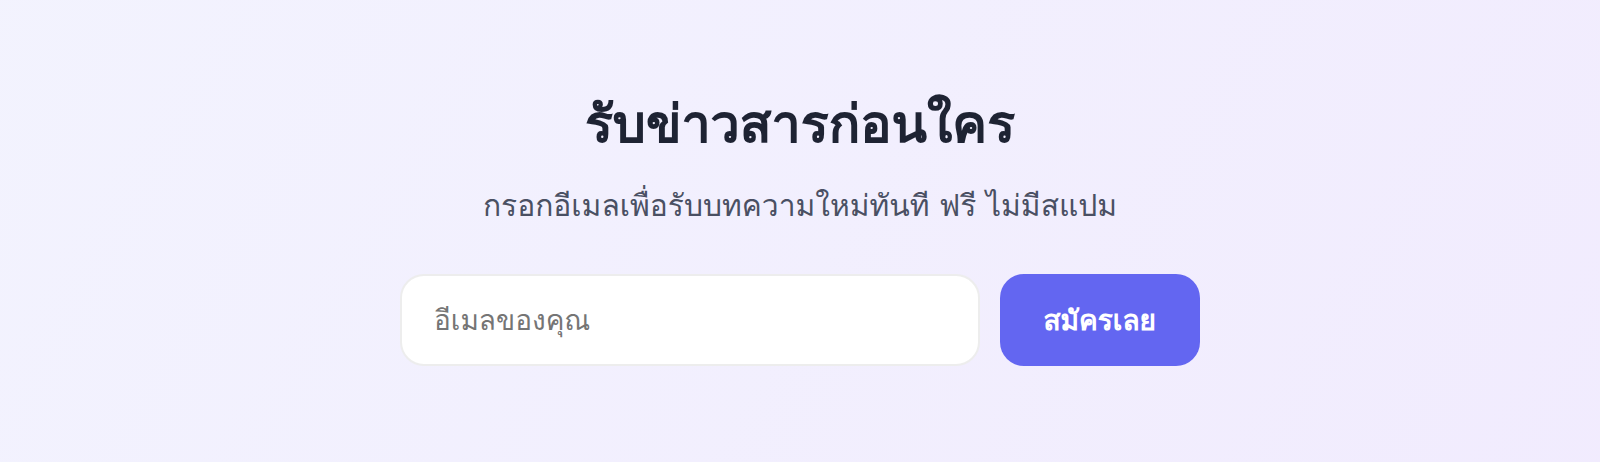
- Set the heading, subtext, button, and background. Type an inviting heading (such as "Get the news first"), subtext stating the benefit, button text, and choose a soft, gradient, or dark background to match your site's tone.
- Connect an email service. Take the form code or action URL from the email service you use and connect it to the form, so the emails readers enter are sent to that system.
- Export the XML and test. Click Export, upload it to Blogger, then test subscribing with a real email, confirming the email lands in the list of the service you connected.
Choose a background and write an effective invitation
The Newsletter box has 3 backgrounds to choose from, each with a different feel. The "soft" one blends seamlessly into the page, ideal when you do not want the box to stand out over the content. The "gradient" one is bright and eye-catching, ideal for drawing attention. And the "dark" one looks premium and contrasts with a light page, ideal for creating a focal point. Choose based on the placement and tone of your site.
Just as important is the invitation. People give their email only when they see a clear benefit. Instead of writing just "Subscribe to news", try being specific about what they get, such as "Get new posts every week, plus tips not published on the site" or "Free, no spam, unsubscribe anytime". Stating the benefit and reducing spam worry genuinely raises the signup rate.
Where to place the Newsletter box
Placement affects the number of signups a lot. The spots that work well are usually the moments when a reader feels the value.
- End of the article: readers who finished are the ones who like your content most, a golden moment to invite them to follow.
- Homepage: place it in a visible spot to catch readers exploring the site, ideal for blogs with heavy homepage traffic.
- Before the footer: a standard spot readers expect to find, unobtrusive to reading but still visible.
You can place it in more than one spot, but be careful not to make it so frequent it becomes annoying. Having a box at the end of the article plus one near the footer is often just right. Experiment to see which placement works best for your readers.
The Newsletter and building a stable reader base
In terms of long-term growth, a Newsletter is one of the highest-return tools, because it changes your relationship with readers from "found by chance" to "deliberately following". Every time you send a new post, you bring followers back to the site directly, which is stable traffic not dependent on external factors.
Used together with features that encourage returning and reading on, such as bookmarks to save for later and latest/random posts to invite exploring content, the Newsletter is another layer that binds readers to your site. Accumulating an email list from day one is therefore a worthwhile investment. Even if signups are few at first, it grows and compounds over time.
Privacy and doing it right
Collecting emails is collecting personal data, so it comes with responsibility. You should tell subscribers clearly what you will use their email for, how often you send, and that there is a way to unsubscribe anytime. These should be consistent with your site's privacy policy and relevant law, such as PDPA in Thailand.
The good news is that most good email services have tools to help, including automatic unsubscribe links in every email, consent management, and signup record keeping. Choosing a trustworthy service helps you run a Newsletter correctly without managing everything yourself. And importantly, do not send emails too frequently or send content readers did not sign up for, because that makes people unsubscribe and lose trust.
Common problems and how to fix them
Entering an email does nothing
Check that you connected the form to an email service, because an empty, unconnected box stores emails nowhere. Test with a real email and see that it enters the list of the connected service.
The confirmation email lands in the spam folder
This is normal for automated email. Good email services have settings (such as SPF/DKIM) to reduce this. We recommend telling subscribers to check the spam folder and move your email to the primary inbox.
The box does not fit the site
Try changing the background to another option (soft/gradient/dark) and adjusting the text to match the site's tone. The box already uses the theme's colors, so it blends when you choose a suitable background.
Best practices
- Connect the box to a trustworthy email service before publishing, do not leave an unconnected box.
- Write an invitation that states a clear benefit and reduces spam worry.
- Place the box at the end of the article and near the footer, the moments when readers feel the value.
- Respect privacy, provide a way to unsubscribe, and send emails only as needed.
- Use it together with related articles and share buttons to widen reach and increase the chance of new followers.
Wrapping up
The Newsletter signup box is one of a blog's most important tools for building a long-term asset, because an email list is a channel you own, not dependent on external algorithms. With BlogKub you just add the Newsletter block, set the heading, subtext, button, and background, and Export it to use, then connect the form to the email service you choose, because Blogger has no built-in email storage. Placed well, written with a benefit-stating invitation, and respecting subscribers' privacy, a Newsletter turns passing readers into regular followers you can bring back whenever you have a new post, which is the foundation of a blog that grows steadily.
Frequently asked questions (FAQ)
Does the Newsletter box store emails itself?
BlogKub's Newsletter box is a ready-to-use, good-looking form, but the collecting and sending of emails needs to connect to an external email service such as FollowIt, Mailchimp, or Google Form, because Blogger is a purely reader-side site with no built-in email storage backend.
How much can I customize the box's appearance?
You can adjust the heading, subtext, button text, and choose from 3 backgrounds: soft, gradient, and dark, so the box fits your site's tone and stands out as you want.
Why should a blog have a Newsletter?
Because email is a channel you own, not dependent on social or search algorithms. When you have a new post, you can reach followers directly, helping bring people back to read again and building a stable base of regular readers.
Do I need to collect emails per privacy law?
You should. Collecting emails is collecting personal data, so tell subscribers what you will use it for, provide a way to unsubscribe, and comply with your privacy policy and relevant law. Most email services have tools to help with this.
How is a Newsletter different from following via RSS?
RSS lets readers follow through a feed reader, while a Newsletter sends posts straight to the email inbox, which people open more often, so it reaches general readers more widely. The two can be used together to serve different reader groups.